Kinecthesia
This project was developed by two students at the University of Pennsylvania in ESE 350.
Ubuntu 10.10 on BeagleBoard XM
The next step in our project was getting our BeagleBoard XM to run Ubuntu. We chose Ubuntu because it is the most lightweight operating system that we are familiar with that we think can interface with the Kinect. There is also a decent amount of documentation we found here that we used to give us a starting point.
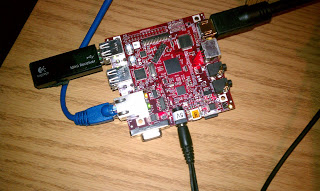
To start things off, we installed the pre-built image of the Maverick flavor of Ubuntu (10.10). We used Kevin’s Linux laptop which has an SD card reader to partition our 2GB microSD card, which the BeagleBoard uses to run the OS. We then unpacked the image, popped out the SD card and plugged it into the board. Hooking up the BeagleBoard to a TV via its HDMI port allowed us to use the terminal-based OS. Here is a picture of the BeagleBoard hooked up with wireless keyboard/mouse, ethernet, power, and HDMI:
The terminal got boring pretty quickly, so we decided to install GNOME which is a windows-based OS. Unfortunately, we needed an internet connection — this is where we ran into some trouble. Since the BeagleBoard XM does not have built in Wi-Fi, it couldn’t detect AirPennNet (but we realized it would be near impossible to authenticate it with AirPennNet via terminal anyway). We hooked up an Ethernet cable, but that didn’t work right away either. Finally, we decided to use my router as an intermediary between Penn’s closed internet system so that we wouldn’t have to both with registering a new device.
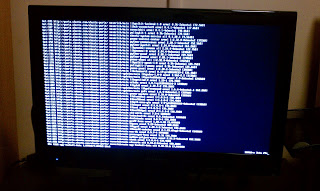
We figured out that before the BeagleBoard could access the Internet, we needed to manually enable network access which we found instructions for here. One weird thing we found after a few hours of tinkering is that the BeagleBoard XM calls its Ethernet port “usb1” and not “eth0” like we thought. Once we made this edit we could access the Internet. Here is a picture of the HDMI output of the BeagleBoard on my TV as we installed GNOME:
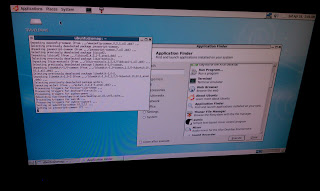
Next we installed a lightweight Internet browser, Midoro, and a text editor, gedit. Here is a picture of the GNOME desktop:
Our next step is to install the Kinect drivers!
Subscribe to:
Posts (Atom)


